The Ultimate Sydney Roof Ventilation Guide: Do Whirly Birds Actually Cool Your Home?

It’s late afternoon in Sydney, and the Bureau of Meteorology (BoM) has confirmed what your electricity bill is already screaming: our local climate patterns are shifting aggressively. Coming off the back of a punishingly hot summer where Western Sydney airports routinely clocked temperatures over 42°C, the Bureau’s latest climate outlook warns that a developing El Niño is locked in to deliver unseasonably dry, hotter-than-average maximum temperatures right through the coming months.

Downstairs, your air conditioning is humming along on high, but as you walk upstairs, you hit an invisible wall of suffocating, stagnant heat. Your bedrooms feel like an oven, the air is thick, and you already know sleeping tonight will be a battle.

Many homeowners wonder why their modern air conditioning units work overtime while their electricity bills skyrocket. The culprit isn’t necessarily your AC unit, it’s the massive heat trap sitting directly above your ceiling, supercharged by Australia’s escalating climate extremes.

During our intensifying summer periods, radiant heat from the sun beats down on your concrete tile or metal roof. Without adequate ventilation, your roof cavity can reach staggering temperatures of up to 70°C. This trapped energy acts like a giant radiator, constantly pushing heat down through your plasterboard ceilings and insulation into your living spaces.

If you are researching ways to slash cooling costs and restore comfort to your home under these new climate realities, you have likely come across Whirly Birds. But do they actually work in our coastal and urban climate, or are they a legacy roofing myth?

As seasoned specialists at The Sydney Roof Doctor, we believe in educating homeowners with transparent, data-backed facts. Let’s dive deep into the science, benefits, and realities of Whirly Birds Installation to help you make an informed decision for your property.

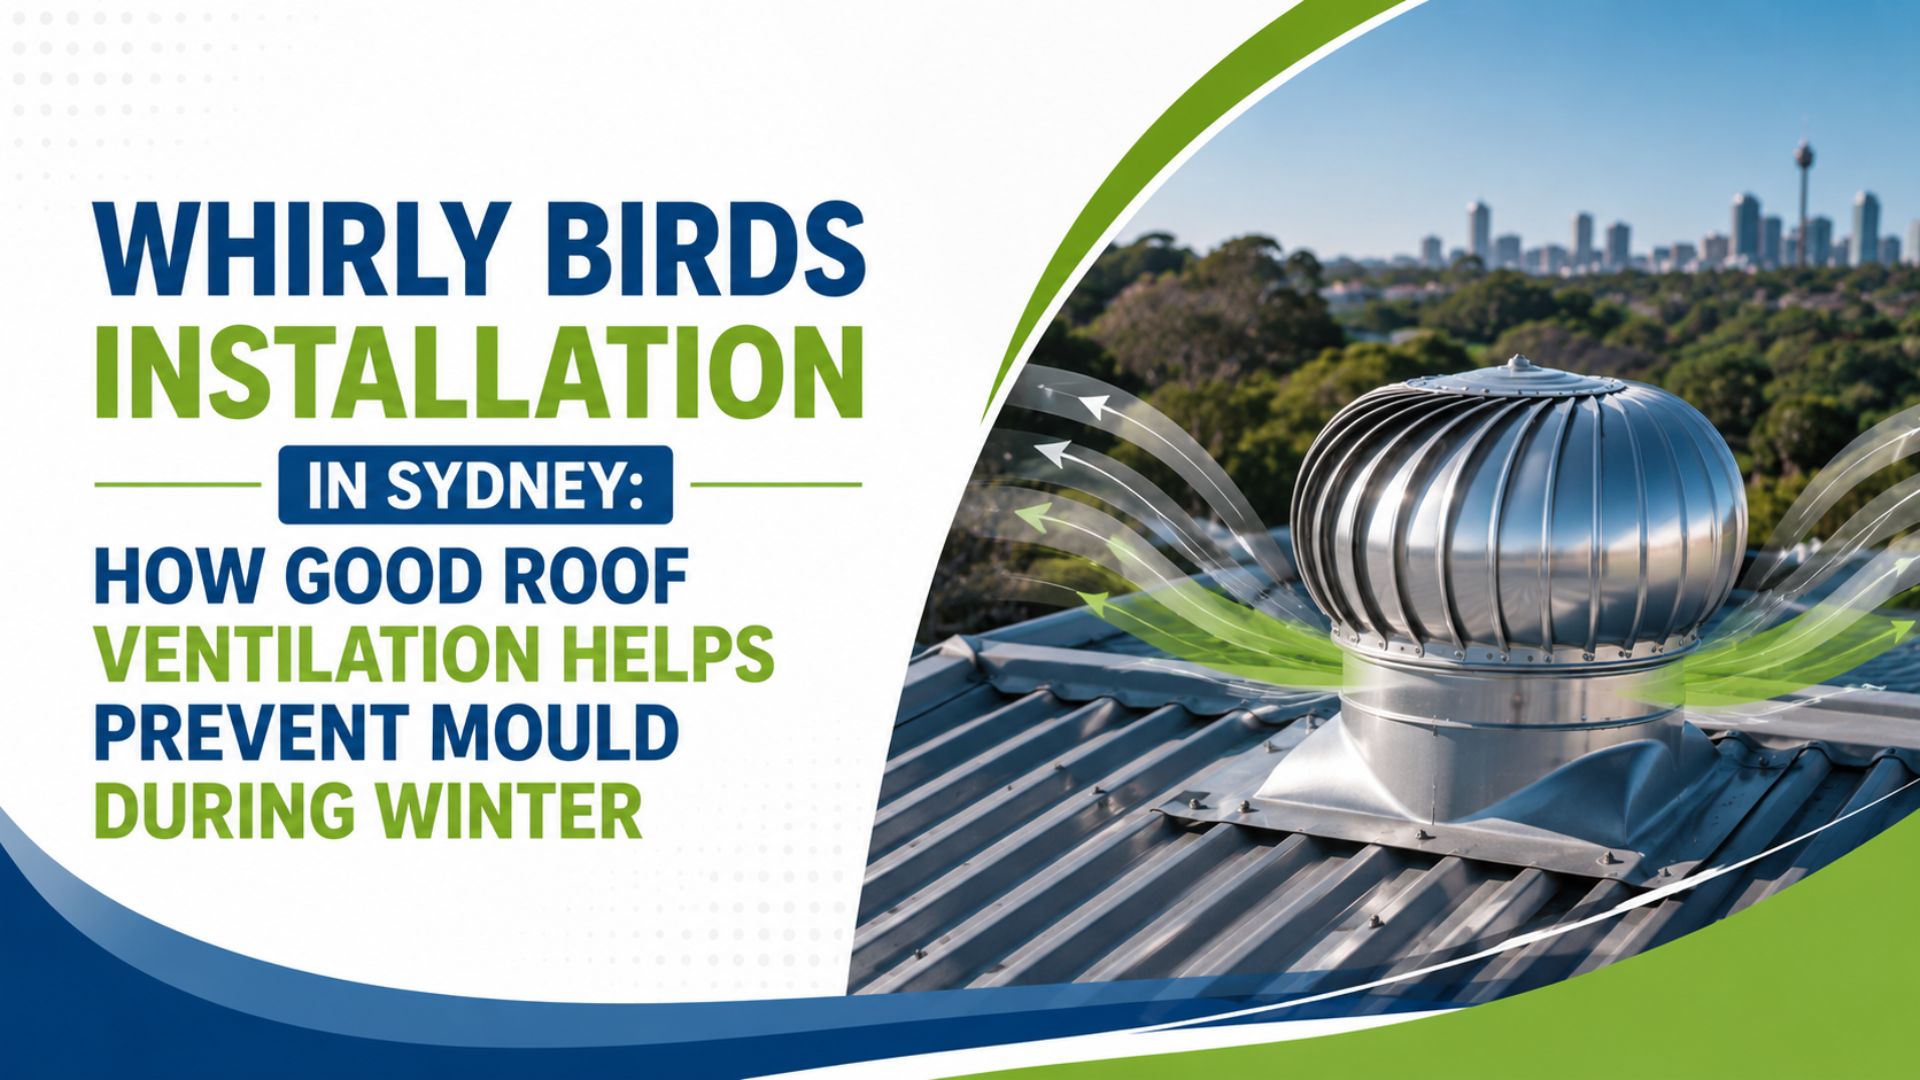
Whirly Birds Installation

What Causes the Problem? The Science of Roof Cavity Heat

To understand why you might need Whirly Birds Fitted, you first need to understand how your roof handles thermal energy under modern weather conditions. Your roof cavity is an enclosed dead-air space. When relentless sunlight hits your roof tiles or Colorbond sheets, that heat is transferred inward via conduction.

Once inside the roof space, this heat becomes trapped.

Without a mechanical or passive exit point, this air continues to bake throughout the day. Even after the sun goes down, thick concrete tiles retain immense thermal mass, continuing to radiate heat into your bedrooms well into the night.

The Winter Problem: Unusually Warm Nights and Condensation

The BoM’s current meteorological data highlights an interesting trend for Sydney: minimum overnight temperatures are tracking significantly warmer than the long-term historical average. When warm, moisture-laden indoor air from daily cooking and hot showers rises into a roof cavity that suddenly cools against the night air, condensation spikes.

When this happens, moisture droplets form on the underside of your roofing material. Over time, this hidden dampness leads to rotting timber trusses, sagging insulation, and toxic black mould growth on your top-floor ceilings.

Signs Your Home Has Poor Roof Ventilation

How do you know if your property is crying out for professional Whirly Birds Installation? Look out for these common warning signs:

  • The Upstairs Oven Effect: The upper level or ceiling areas of your home remain disproportionately hotter than the ground floor, even hours after a cool change arrives.
  • AC Cycling Constantly: Your air conditioner rarely turns off or struggles to lower the indoor temperature on extreme days.
  • Musty Smells and Mildew: You notice unexplained damp smells or spots of mould forming in your top-floor wardrobes or ceiling corners due to trapped tropical humidity.
  • Blistering Roof Paint or Brittle Shingles: Excessive under-roof heat accelerates the degradation of roofing materials, underlayments, and protective coatings.

How Passive Whirly Birds Work (And When They Don’t)

A standard whirlybird is a passive, wind-driven turbine ventilator. It relies on a combination of two natural forces to draw hot air out of your attic space:

  1. Convection (Stack Effect): Warm air naturally rises. As it accumulates at the highest point of your roof ridge, it presses against the whirlybird unit.
  2. Wind Velocity: As coastal breezes or afternoon gust systems pass through the curved fins of the turbine, it spins. This spinning action creates a low-pressure vacuum zone inside the turbine, actively pulling the trapped hot air and moisture out into the atmosphere.

The Missing Piece: Intake Ventilation

Here is a critical piece of roofing science that many standard contractors completely miss: for air to exit your roof, new air must be able to enter.

A whirlybird cannot pull air out of a sealed vacuum. To function optimally, it requires adequate intake ventilation, usually achieved by installing eave vents or under-facia vents.

Expert Insight: If you install whirlybirds without intake vents, the system will try to pull replacement air from your living spaces through downlights or exhaust fans, inadvertently drawing your expensive, air-conditioned air into the roof cavity.

Active vs. Passive Ventilation: How Whirly Birds Compare

When upgrading your roof space to cope with worsening climate baselines, you have a few core options. Here is a direct, honest comparison of how traditional whirlybirds stack up.

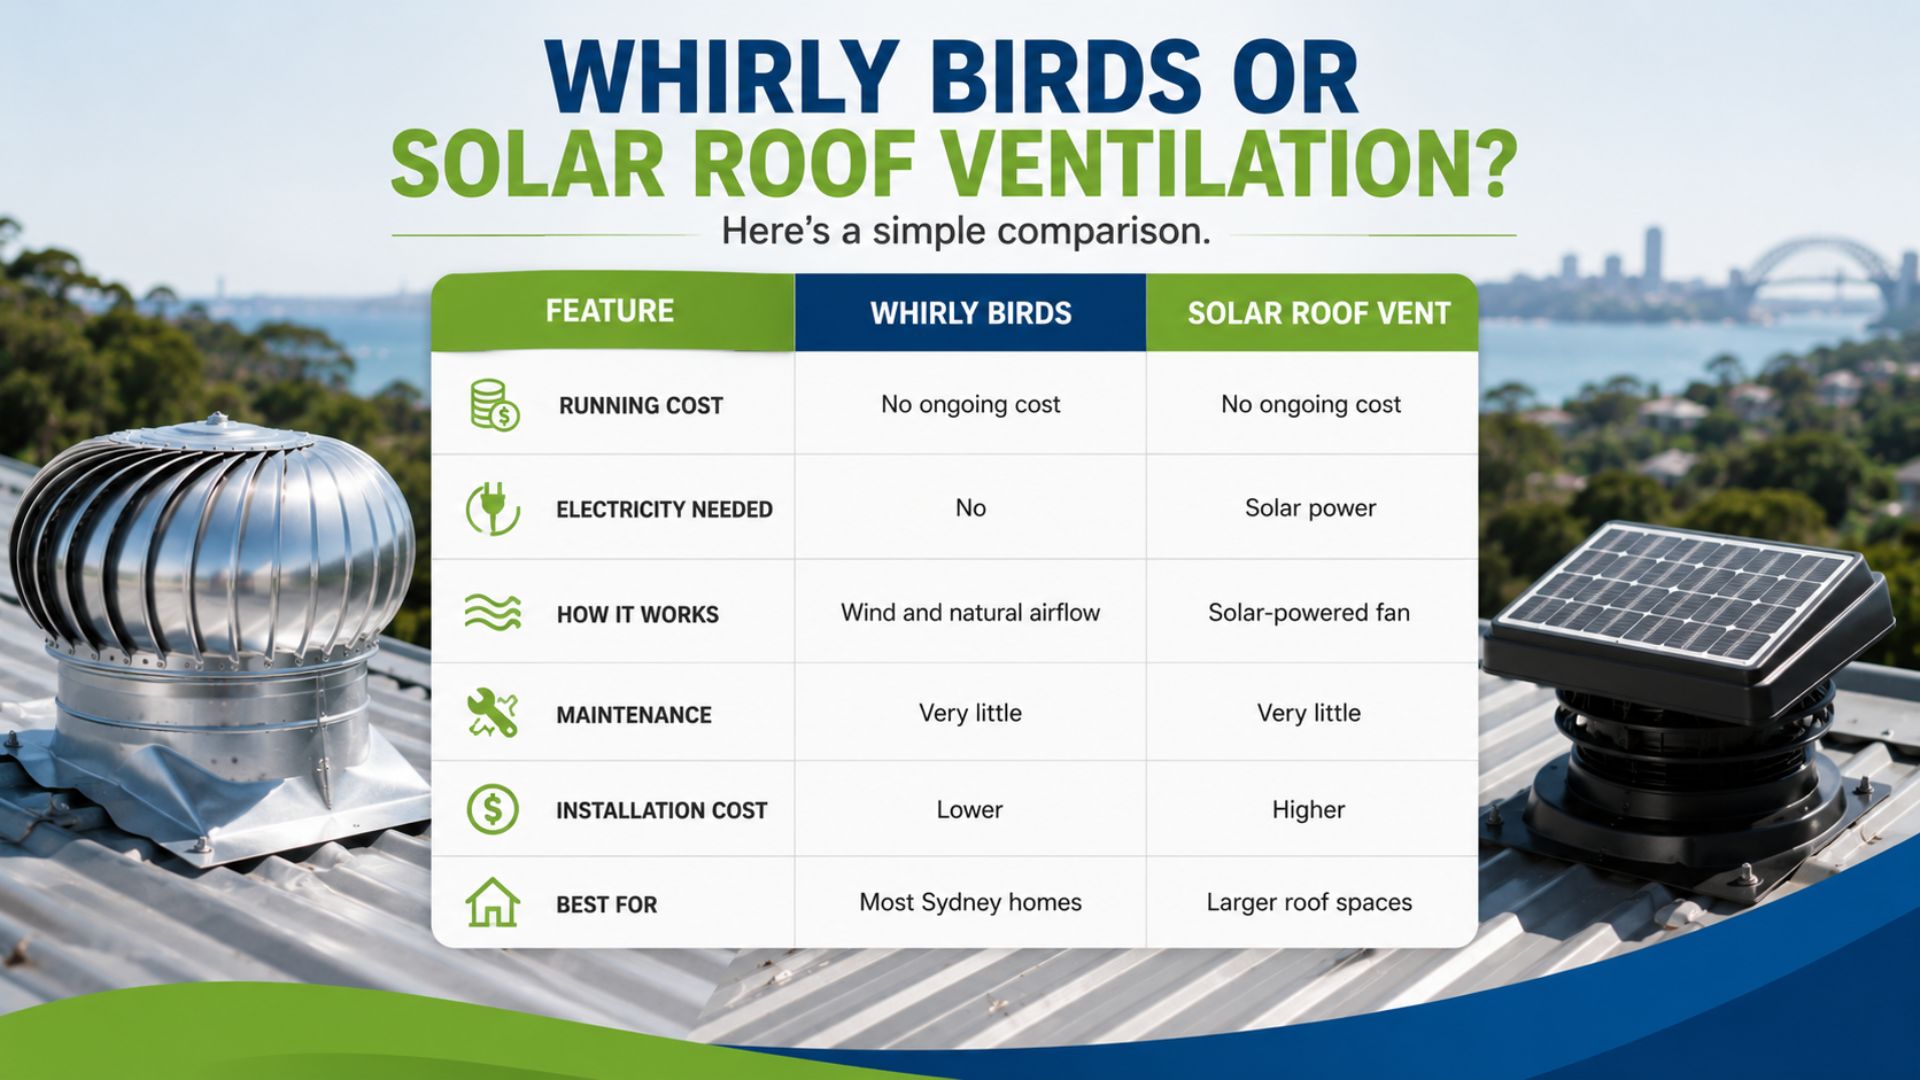
FeaturePassive Whirly BirdsSolar-Powered Roof VentsMains-Powered Fans
Initial CostLow to ModerateModerate to HighHigh
Running Cost$0.00 (100% Free)$0.00 (100% Free)Variable (Adds to power bill)
Airflow Rate~100–150 m³/hr (Wind dependent)~1,000–3,000 m³/hr (Sun dependent)~1,500–4,000 m³/hr (Constant)
Noise LevelCompletely silent (when high quality)Very quiet brush-less motorsLow hum to noticeable fan noise
MaintenanceVirtually noneLow (Occasional solar panel wipe)Moderate (Electrical components)
Lifespan10–20+ Years5–10 Years (Component dependent)5–10 Years

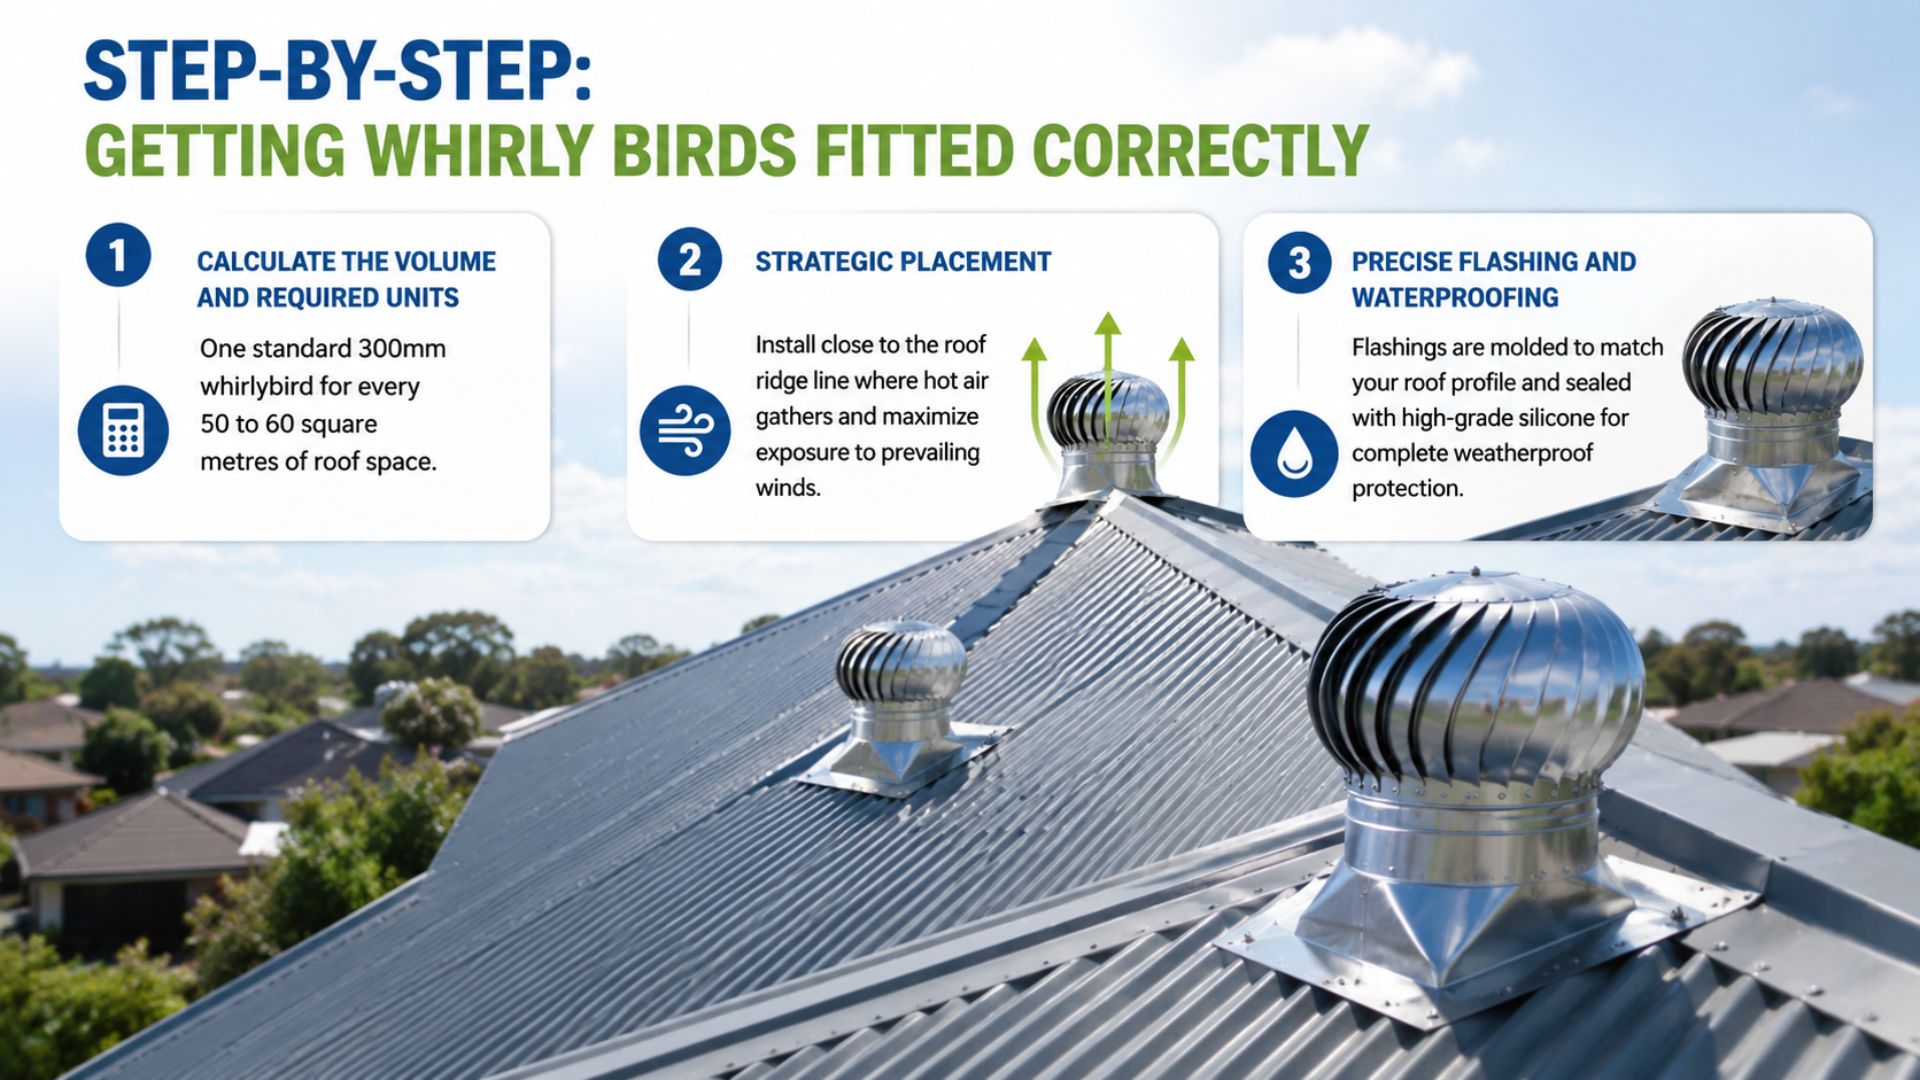
Step-by-Step: Getting Whirly Birds Fitted Correctly

If you are planning to add ventilation to your home, the installation process must be strategic to ensure long-term performance and prevent structural damage during sudden, volatile storm fronts.

Step 1: Calculate the Volume and Required Units

A single whirlybird cannot vent an entire 4-bedroom home. As a general industry rule of thumb, you require one standard 300mm whirlybird for every 50 to 60 square metres of roof space.

Step 2: Strategic Placement

Units must be installed close to the roof ridge line (the highest point) where hot air naturally gathers. They must also be positioned to maximize exposure to prevailing local winds without compromising the aesthetic appeal of your home’s facade.

Step 3: Precise Flashing and Waterproofing

The roofing material (tile or metal) is carefully cut to accommodate the throat of the ventilator. The flashing is then meticulously molded to match your roof’s profile, accompanied by high-grade UV-resistant silicone sealants to ensure absolute weatherproof integrity against intense flash-flooding rain events.

Whirly Birds

Common Installation Mistakes to Avoid

While the concept of a roof turbine is straightforward, poor execution can lead to serious long-term property damage.

  • Cutting Structural Trusses: Inexperienced operators or rushed DIY attempts sometimes cut through critical roof timber supports when creating the vent opening, compromising structural safety.
  • Inadequate Flashing Seals: Failing to properly dress or seal the flashing is one of the most common causes of localized roof leaks during heavy downpours.
  • Mixing Ventilation Types on the Same Roof: Installing a mechanical solar vent right next to a passive whirlybird causes a short-circuit loop, the powered vent simply sucks fresh air straight out of the adjacent whirlybird rather than drawing hot air from deep within the attic space.

Professional vs. DIY: An Honest Comparison

Can you buy a whirlybird at your local hardware store and install it yourself? Technically, yes. However, working on a pitched roof carries significant personal risk, alongside structural risks to your most valuable asset.

The DIY Route

  • Pros: Lower immediate out-of-pocket material expenses.
  • Cons: High fall risks, potential for improper waterproofing, tool expenses, and no workmanship warranty if a leak develops during winter.

The Professional Advantage

Engaging a licensed roofing team like The Sydney Roof Doctor ensures that your Whirly Birds Fitted process is handled safely and effectively. Professionals possess the correct safety harness gear, understand structural roof loads, deploy commercial-grade waterproofing components, and back their installations with robust structural warranties.

Why Timely Roof Upgrades and Maintenance Matter

With climate projections showing higher baseline heat states across New South Wales, integrating ventilation into your broader maintenance strategy pays dividends over time. When executing professional Roof Repairs Sydney, addressing ventilation simultaneously can prevent advanced degradation of your structural timbers, keeping overall maintenance overheads low.

Proper ventilation protects your insulation batts from moisture compression, ensures your ceiling plaster stays structural, and ultimately extends the operational lifespan of your primary air conditioning units by lowering ambient indoor pressures.

Our Helpful Roof Ventilation Resources

To help you research the best setup for your property, explore our detailed companion guides:

Frequently Asked Questions

Q. How urgent is a roof ventilation issue?

While poor ventilation isn’t an emergency like a collapsed roof, it is a progressive issue. Allowing extreme heat and condensation to cycle unchecked year after year under current warming trends degrades your roof insulation, warps timber framing, and drives up electricity costs significantly.

Q. Can small roof damage or ventilation blocks be ignored?

No. Minor issues, such as blocked eave vents, rusted whirlybird bearings, or small gaps in flashing, allow moisture to steadily build up. What starts as a minor condensation issue can evolve into toxic mould remediation or expensive structural Roofing Repairs Sydney.

Q. Do whirlybirds spin or work when there is absolutely no wind?

High-quality whirlybirds use low-friction, sealed bearings. Even on dead-calm days, the stack effect (hot air rising naturally) creates enough upward thermal pressure against the internal fins to cause the unit to rotate and exhaust hot air.

Q. Can whirlybirds leak during heavy Sydney rainstorms?

When installed professionally with correctly molded flashing and industrial sealants, whirlybirds will not leak. The centrifugal force of the spinning dome naturally repels water outward, preventing rain from entering the throat of the vent.

Q. How much do professional whirlybird installations cost?

Costs vary based on your roof type (terracotta tile, concrete tile, or Colorbond metal), roof pitch steepness, and how many units your roof structure requires. Contact a licensed specialist for a transparent, tailored quote.

Q. Take Back Control of Your Home’s Climate

You don’t have to tolerate a sweltering home or terrifying electricity bills every season. Investing in proper roof ventilation is one of the most reliable, cost-effective, and environmentally sustainable ways to protect your property and enhance your daily living comfort against modern weather pressures.

If you are ready to evaluate your home’s ventilation profile or require expert Roof Repairs Sydney, reach out to our friendly team.

Let’s keep your home cool, dry, and structurally sound for decades to come. [Contact The Sydney Roof Doctor today for an expert consultation.]

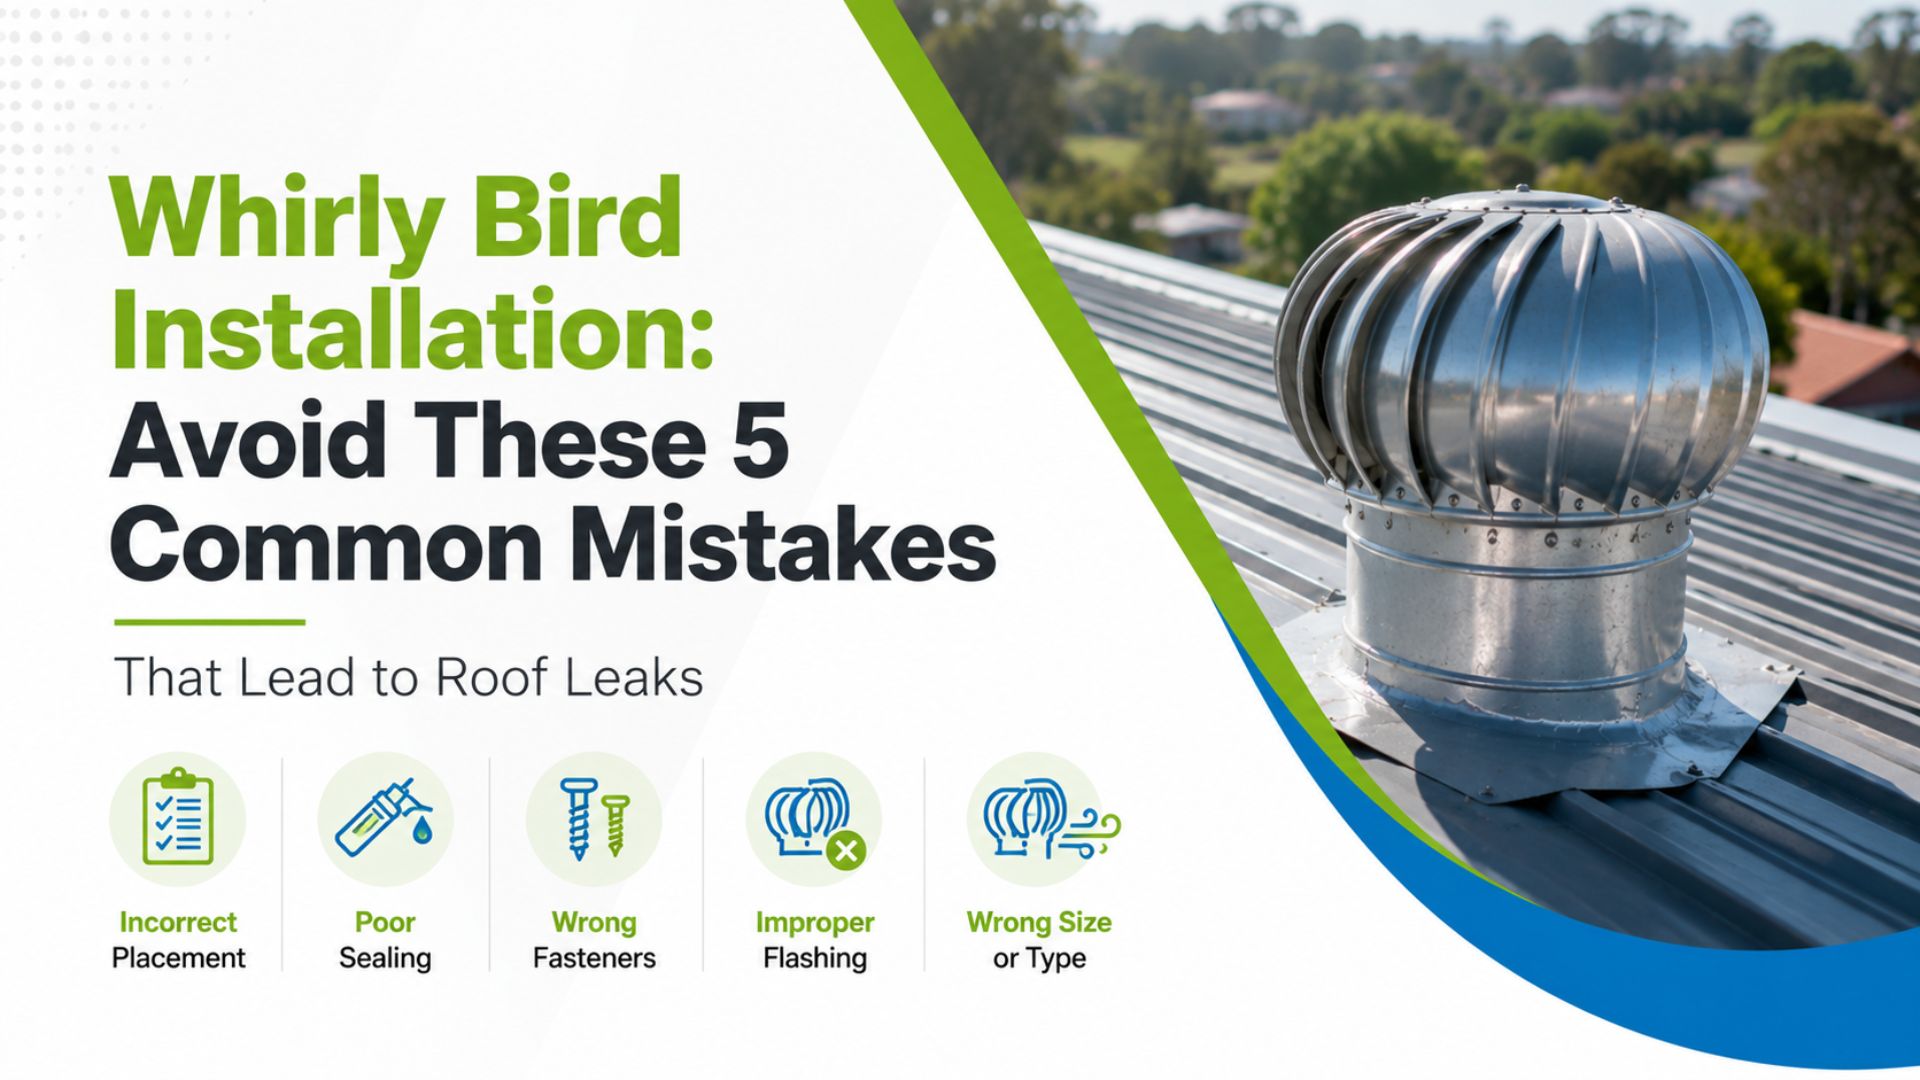
Whirly Bird Installation: Avoid These 5 Common Mistakes That Lead to Roof Leaks

Ever walked into your hallway after a classic Sydney thunderstorm only to find a mysterious puddle directly under your ceiling manhole? Or perhaps you’ve started hearing a rhythmic thump-grind-thump coming from the roof every time the wind picks up?

If you’ve recently had Whirly Birds installation done, or you’re planning to, you’re likely looking for two things: a cooler home and a lower energy bill. But here is the reality we see far too often at The Sydney Roof Doctor: a poorly installed ventilator is worse than no ventilator at all.

When a Whirly Bird is installed incorrectly, it transforms from a helpful cooling tool into a direct highway for rainwater to enter your home. In this guide, we’re pulling back the curtain on the technical side of roof ventilation to show you how to get the benefits of airflow without the headache of a leaking roof.

Whirly Birds installation

What is a Whirly Bird and Why Does Sydney Need Them?

In the heat of a Western Sydney summer, roof cavity temperatures can soar above 60°C. That heat doesn’t stay in the roof; it radiates down through your ceiling, making your air conditioning work double-time.

A Whirly Bird (a circular, wind-driven turbine ventilator) works through a combination of convection and mechanical spinning. As hot air rises, it escapes through the turbine. As the wind blows the fins, it creates a vacuum effect that “pulls” stale, hot air out of the attic.

The result? A cooler home in summer and a drier roof cavity in winter (reducing mold and condensation). However, because these units require cutting a literal hole in your roof’s “waterproof skin,” the installation must be surgical.

Signs Your Roof Ventilation is Failing (or Failing You)

How do you know if your current ventilation is actually causing more harm than good? Watch for these red flags:

  • The “Attic Bake”: If you open your manhole and feel a wall of heat hit you like a preheated oven, your vents aren’t moving enough air.
  • Localized Leaks: Water stains on the ceiling directly beneath the vent location.
  • The Screaming Bearing: A high-pitched squealing or grinding noise indicates the turbine is off-balance or the bearings have rusted due to poor quality.
  • Ceiling Dampness in Winter: This is often mistaken for a leak, but it’s actually condensation caused by trapped moisture that the Whirly Bird is failing to extract.

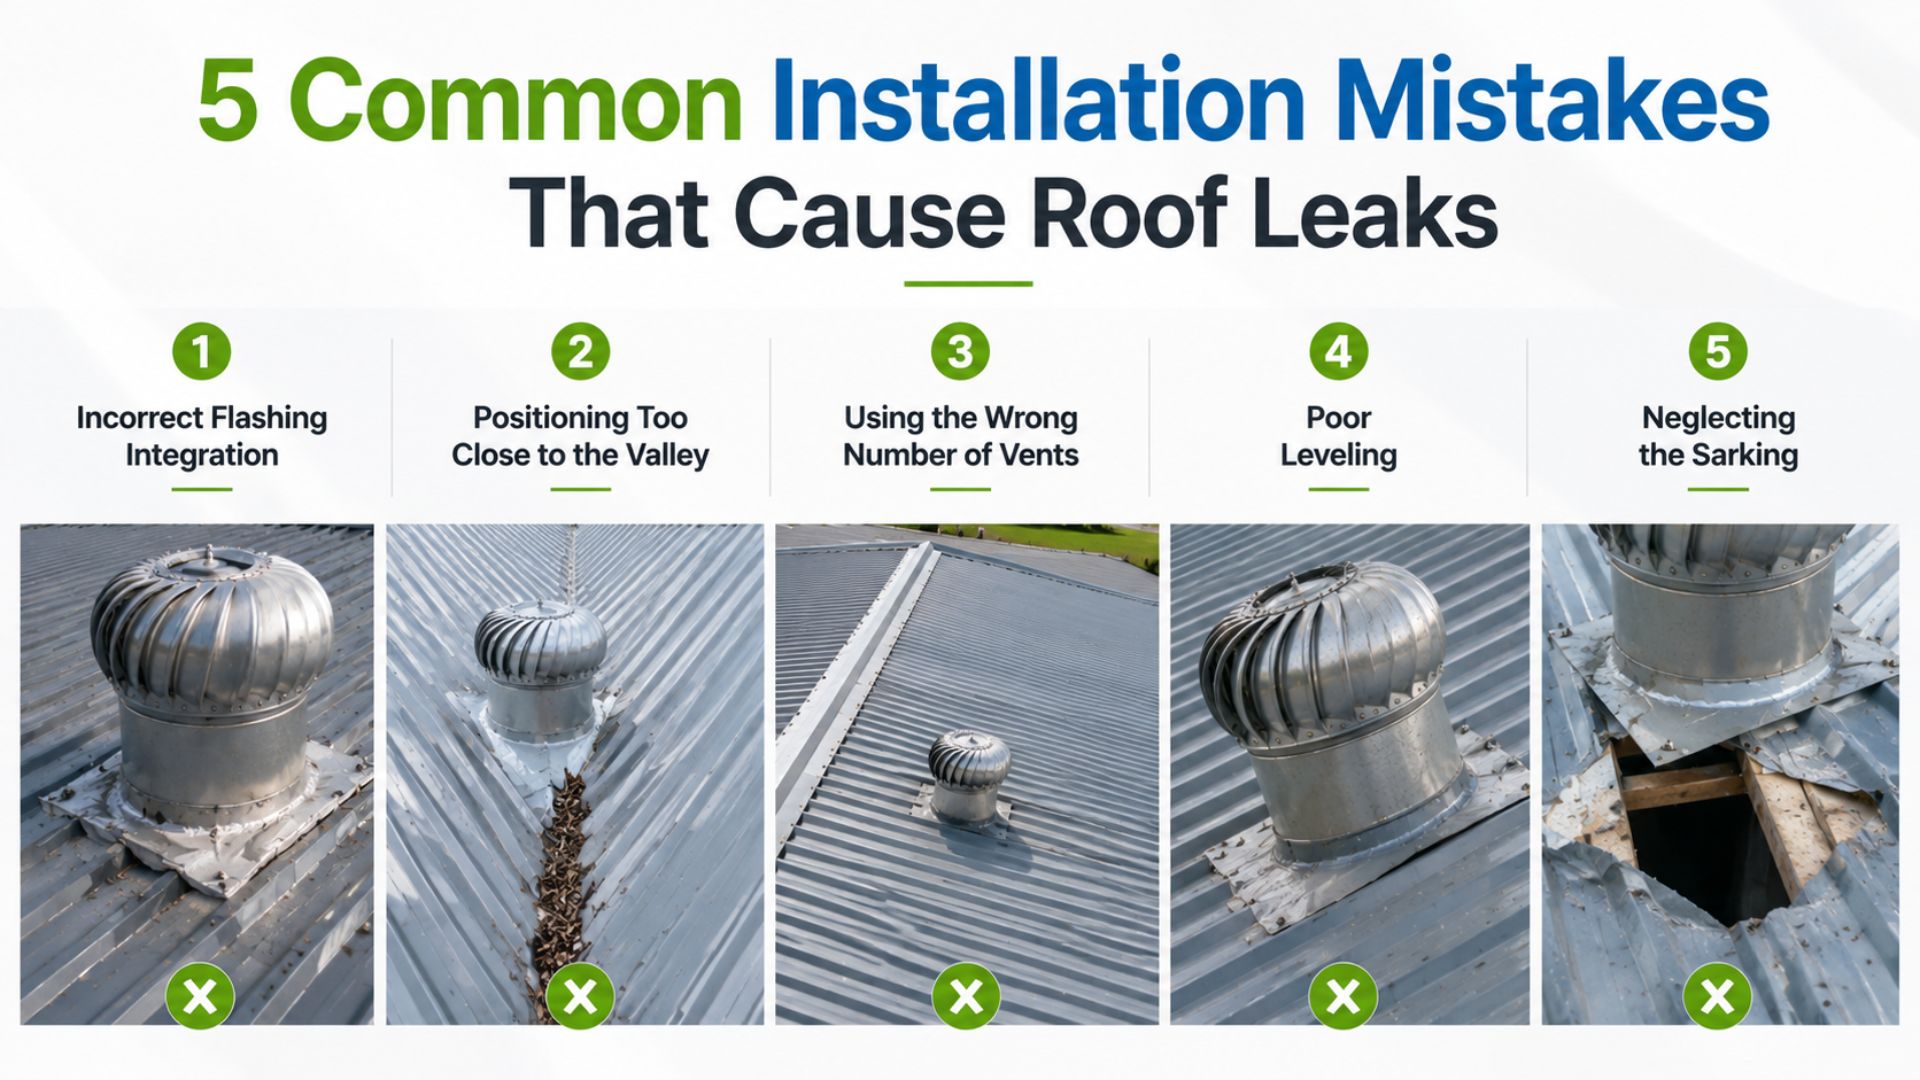
5 Common Installation Mistakes That Cause Roof Leaks

In our 20+ years of roof repair in Sydney, we’ve seen DIY attempts and “handyman specials” go wrong in very predictable ways. Here is why those installations eventually leak:

1. Incorrect Flashing Integration

The “flashing” is the metal base of the Whirly Bird that must be tucked under the tiles or metal sheets above it, and over the ones below it. We often see installers simply “sitting” the base on top of the roof and slathering it in silicone. Silicone eventually cracks under the Australian sun; proper mechanical flashing does not.

2. Positioning Too Close to the Valley

Roof valleys are the “highways” for water during heavy rain. Installing a Whirly Bird too close to a valley means it will be hit with a massive volume of fast-moving water that can easily overtop the flashing.

3. Using the Wrong Number of Vents

One Whirly Bird is rarely enough for a standard 3-to-4-bedroom home. When you under-ventilate, the pressure isn’t equalized properly. This can actually lead to “back-drafting” where moist air is pulled back into the home rather than out.

4. Poor Leveling

If the turbine isn’t perfectly level, it won’t spin balanced. An unbalanced Whirly Bird vibrates. Over time, that vibration loosens the screws and breaks the waterproof seals around the base, leading to a slow, “invisible” leak that rots your timber rafters.

5. Neglecting the Sarking

Most modern Sydney homes have “sarking” (that silver foil layer) under the tiles. Many installers cut the hole for the vent but don’t properly seal the sarking to the vent throat. Water that gets under your tiles, even in small amounts, will then run straight into your insulation.

Whirly Birds

Whirly Bird Repair vs. Replacement: Which Do You Need?

Many homeowners wonder if a noisy or leaking vent means they need a whole new system. Here’s how we break it down:

IssueLikely Solution
Slight squeakingLubrication or bearing replacement (if the model allows).
Water leaking through the baseRe-flashing and resealing (Repair).
Wobbling or dented finsReplacement (usually more cost-effective than a fix).
Seized turbine (not spinning)Replacement. Modern units are often more efficient.
Old plastic units (brittle)Immediate replacement with high-quality aluminum.

The Sydney Climate Factor: Why Local Expertise Matters

Sydney presents unique challenges for Whirly Birds installation.

  • Coastal Homes (e.g., Manly, Cronulla): Salt spray eats through cheap steel vents in months. We always recommend high-grade aluminum or polymer units for coastal zones.
  • Bushfire Prone Areas: If you live near the bush, your vents must be fitted with stainless steel ember guards to meet Australian standards (BAL ratings). A standard vent is a “front door” for embers during a fire.

Professional Installation vs. DIY: An Honest Look

We get it, Whirly Birds look simple. You buy them at a hardware store, and the box makes it look like a 20-minute job.

The DIY Risk:

If you trip or crack a tile during installation, you’ve just turned a $150 cooling project into a $2,000 roof repair job. Furthermore, working on a roof, especially a steep pitch, is dangerous without the right harness gear.

The Professional Advantage:

When The Sydney Roof Doctor installs a vent, we don’t just cut a hole. We inspect the surrounding tiles, ensure the flashing is integrated into the “watercourse” of the roof, and provide a workmanship guarantee. If it leaks, it’s our problem, not yours.

Cost Factors: What Should You Expect to Pay?

The cost of Whirly Birds installation in Sydney typically depends on:

  1. Roof Pitch: Steeper roofs require more safety equipment and time.
  2. Roof Material: Metal (Colorbond) is generally faster to install on than Terracotta tiles, which can be brittle and prone to breaking.
  3. Access: Two-story homes naturally incur a higher labor cost.
  4. Number of Units: Installing two or three units at once is always cheaper per unit than calling a contractor out three separate times.

Avoid the “Quick Fix” Trap

Don’t let a “cheap” installation lead to an expensive leaking roof. A Whirly Bird is an investment in your home’s longevity. By removing heat and moisture, you protect your roof’s structural timbers and your family’s health from mold.

Need a professional eye on your roof?

Whether you’re looking to install new ventilation or you suspect your current Whirly Bird is the source of a leak, we can help.

[Explore our Roof Ventilation Services

Frequently Asked Questions

1. How many Whirly Birds do I actually need?

For a standard 150sqm home, we usually recommend at least two units to create effective cross-ventilation. Larger homes or those with complex roof shapes may need four or more.

2. Do Whirly Birds leak when it rains?

If installed correctly, no. They are designed with a series of baffles and fins that prevent rain from entering the throat even while spinning. If it’s leaking, the issue is almost always the flashing (the base) or the seal.

3. Do they work in winter?

Yes! While we focus on heat in summer, winter is about moisture. Whirly birds remove the damp air created by showers and cooking, which prevents mold growth in your ceiling.

4. Are they noisy?

High-quality modern units are virtually silent. If yours is clicking or grinding, the bearings have likely failed, or the unit was installed off-level.

5. Can I install a Whirly Bird on a flat roof?

It’s possible, but it requires specialized “low pitch” flashing. A standard Whirly Bird base is designed for pitched roofs; using one on a flat roof is a guaranteed recipe for a leak.

6. How long do they last?

A quality aluminum Whirly Bird should last 10 to 15 years. Cheap plastic versions often become brittle and crack within 5 years under the harsh Sydney sun.

7. Will a Whirly Bird lower my electricity bill?

By reducing the ambient temperature of your roof cavity, your air conditioner doesn’t have to work as hard to keep the living spaces cool. Many homeowners see a noticeable drop in cooling costs during peak summer months.

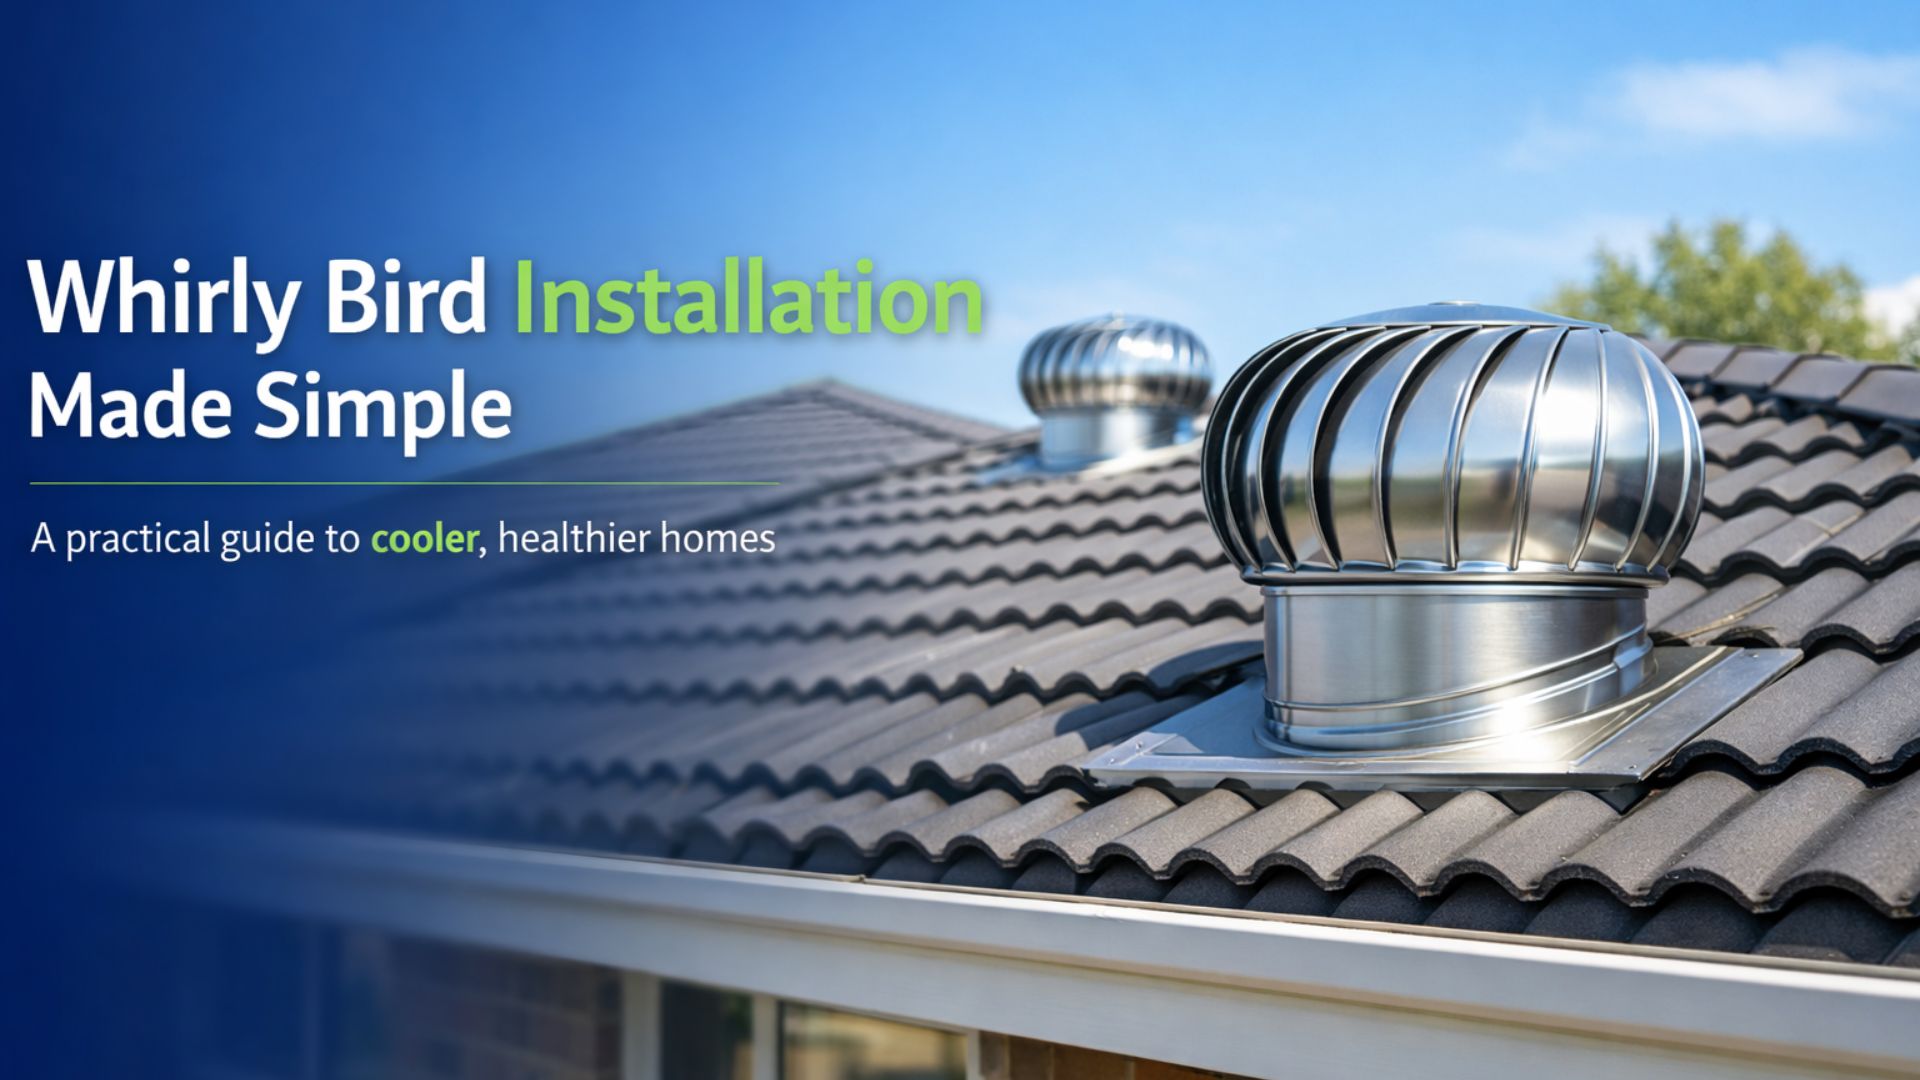
Whirly Bird Installation Guide for Australian Homes: A Practical Walkthrough

Hot building? You’re not alone. Many Australian buildings trap heat in the roof space. By late afternoon, it feels unbearable. The air sits. The ceiling radiates heat. Energy bills climb.

That’s where the Whirly Birds installation comes in. Simple idea. Big impact. These roof ventilators spin with the wind and pull hot air out. No power needed.

In this guide, we’ll break it down. What they are. When you need them. And how they’re installed. No fluff. Just clear, practical insight you can actually use.

Whirly Birds installation

What Are Whirly Birds and Why They Matter

Think of a whirly bird as your roof’s exhaust fan. It sits on top and spins with the breeze. As it turns out, it pulls hot, stale air out of your roof space.

Sounds simple. It is. But the results? Noticeable.

Here’s what they help with:

  • Less heat indoors. Your rooms stay cooler, especially upstairs
  • Better airflow. No more trapped, heavy air
  • Lower energy use. The air conditioner system doesn’t have to work as hard
  • Protection from moisture. Helps prevent mould and damp issues

In Australia’s climate, heat builds fast. Without ventilation, it has nowhere to go. That’s the real problem.

When Should You Consider Whirly Birds Installation

Not sure if you need one? Look for the signs.

  • Your home stays hot even after sunset
  • Cooling bills feel higher than they should
  • The ceiling feels warm to the touch
  • There’s a musty smell in certain rooms
  • You’ve noticed condensation or damp patches

Sound familiar? Then your roof probably isn’t breathing properly.

Many older Australian homes weren’t built with modern ventilation in mind. Over time, that becomes a comfort issue. And a cost issue.

Step-by-Step Whirly Birds Installation Process

Let’s walk through how it’s actually done. No guesswork. No shortcuts.

  • Roof inspection and placement planning

First, the roof is assessed. Size matters. So does layout. Placement is planned carefully to get the best airflow.

  • Marking and cutting the roof opening

A clean opening is marked and cut. Precision here is critical. Too loose, and you risk leaks.

  • Securing the base and flashing

The base is fitted and fixed into place. Flashing is added to keep water out. This step protects your roof.

  • Installing the turbine head

The spinning unit is attached. It must rotate freely. No resistance.

  • Sealing and weatherproofing

Every edge is sealed. Properly. This is what keeps your home dry during heavy rain.

  • Final testing and airflow check

The unit is tested. Airflow is checked. Everything must work smoothly before the job is done.

It’s a straightforward process. But every step matters.

Why Professional Installation Makes a Difference

Here’s the truth. This is not just a cut-and-fit job.

Get it wrong, and you risk:

  • Water leaks
  • Poor airflow
  • Structural damage

That’s why professional installation matters.

An experienced roofer knows:

  • Where to place units for maximum effect
  • How to seal properly against the Australian weather
  • How to work safely without damaging the roof

Done right, it works quietly in the background. Done wrong, it causes problems.

Whirly Birds

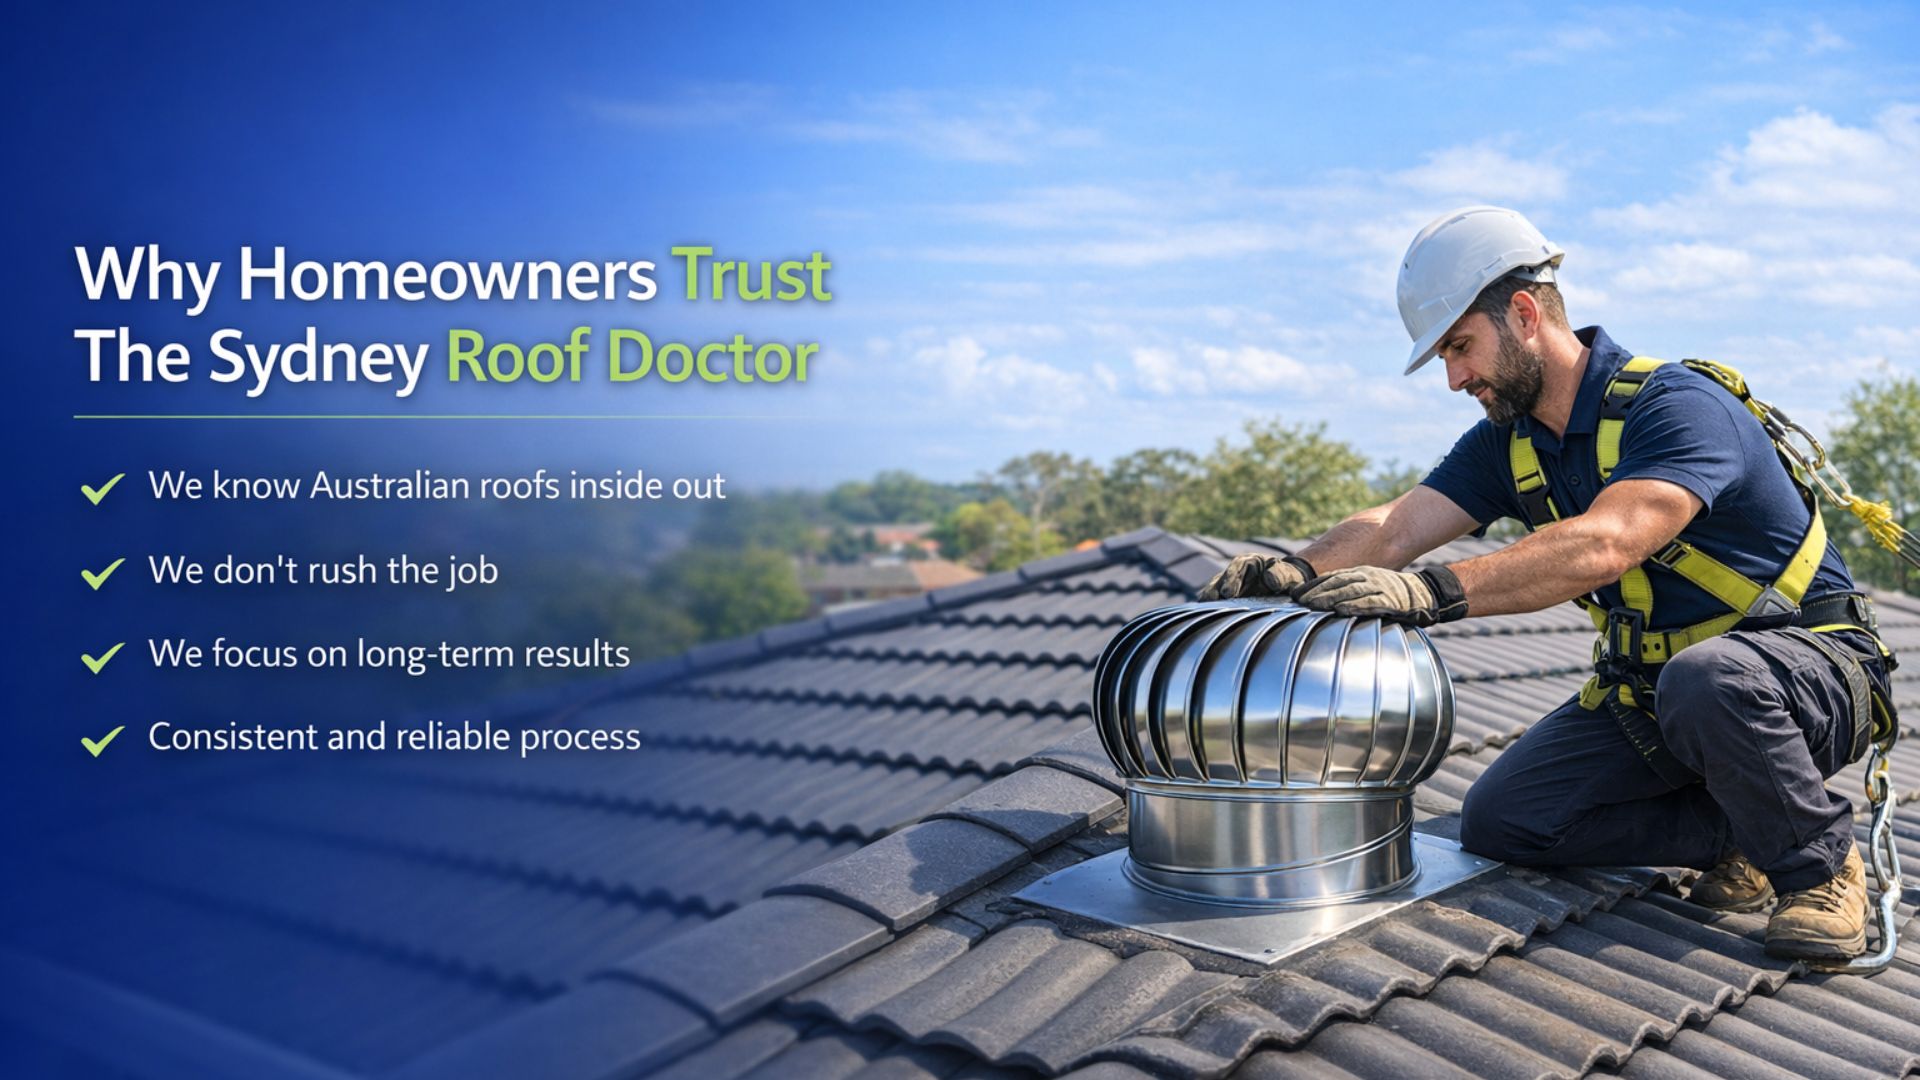
Why Homeowners Trust The Sydney Roof Doctor

When it comes to Whirly Birds installation, experience shows.

The Sydney Roof Doctor understands local conditions. Heat. Rain. Wind. All of it.

Homeowners rely on us because:

  • We know Australian roofs inside out
  • We don’t rush the job
  • We focus on long-term results, not just quick repairs
  • Our process is consistent and reliable

It’s not about installing a product. It’s about getting the outcome right.

Frequently Asked Questions

Q. How many Whirly Birds do I need?

It depends on your roof size and layout. Most homes need more than one for proper airflow.

Q. How long does installation take?

Usually, a few hours. It can vary depending on the roof type and access.

Q. Do Whirly Birds work in winter?

Yes. They help remove moisture and keep air moving year-round.

Q. Can they be installed on all roof types?

Yes, in most cases. Tile and metal roofs are both suitable with the right approach.

Q. Are Whirly Birds noisy?

No. When installed correctly, they run quietly. Noise usually points to a problem.

Conclusion

A hot, uncomfortable home doesn’t have to be the norm. Often, the issue starts on the roof. And the repair is simpler than you think.

Whirly Birds installation helps your home breathe. It reduces heat. Improves airflow. And makes everyday living more comfortable.

But the real difference comes from doing it properly. That’s where experience matters.

If you’re noticing the signs, it might be time to act. The Sydney Roof Doctor can assess your roof and guide you toward a solution that actually works. Not just now, but for the long run.

DIY vs Professional Whirlybird Installation: A Complete Comparison for Property Owners

It’s the middle of summer, the sun is blazing, and your industrial property feels like an oven.

Well, if you manage an industrial building, then you are already aware of this situation during the summer season. Also, you know how quickly heat can build up inside, affecting staff comfort, equipment efficiency, and even your power bills.

So, how to control this situation?

Whirly Birds Installation

According to many property owners, one of the simplest ways to improve airflow is to install whirly birds. Basically, they sit on your roof, spin with the wind on their own, and pull hot, stale air out of the building.

Now, you must be thinking of the whirly birds installation. Right? Why wait? Go for it! 

But, should you try installing them yourself, or call in the pros?

Good question!

It’s not just you! It’s a common dilemma for several property owners across Sydney and beyond.

If I’m being honest, DIY sounds tempting; you save a lot of money, take control, and even get a little satisfaction (and of course feel proud of yourself) after completing the task successfully. But if you flip the coin, professional installation promises precision, safety, and long-lasting results.

So, which route is actually worth your time and investment? In this blog post, let’s break it down!

Whirly Birds Installation: What Exactly Do They Do?

In simple terms, they are small, wind-powered ventilators that keep air moving through your roof space. If properly fitted, they can help reduce heat, lower moisture build-up, and stuffiness.

A handy hint: Most industrial facilities prefer whirly birds. As it can make a big difference in keeping the environment more comfortable and balanced.

DIY Whirly Bird Installation: Is It Even Worth Trying?

Now, you have to agree that roofing is essential and not something you can take chances with!

Plenty of property owners consider going the DIY route at first because it seems cheaper and relatively simple. You just need to gather the materials and complete the repair. But it’s not as simple as you might think.

Here’s what DIY installation looks like in reality:

Why Some Owners Choose DIY

  • Lower upfront cost because you only pay for the whirlybird.
  • Hands-on control, which can be useful if you already have an experienced maintenance team.
  • Flexible schedule, allowing installation to happen at your convenience.

What Makes DIY Tricky

  • Roof safety risks: Industrial roofs often have height hazards, fragile sheeting, or steep pitch. One misstep can be dangerous.
  • Incorrect placement: Positioning the whirly birds affects how well the system ventilates. Poor placement reduces performance.
  • Possible roof damage: Cutting the wrong size hole or mishandling metal sheets can lead to leaks.
  • No warranty: A DIY mistake may void manufacturer warranties and lead to costly repairs later.

So, is DIY installation an impossible task?

No, it’s not! You can choose DIY, but only if you have a skilled team familiar with roofing safety and metal roof structures.

Whirly Birds Fitted

Professional Installation: Why Many Industrial Owners Prefer It

For real, hiring trained roofing specialists clearly makes a difference! They ensure the job is completed quickly, safely, and in compliance with the industry standards. Companies like The Sydney Roof Doctor specialise in installing whirly birds on commercial and industrial roofs, and the results tend to be more reliable.

Why Professional Installation Works Better

  • Accurate assessment of ventilation needs: Professionals calculate how many whirly birds you need based on building size, roof design and airflow requirements.
  • Correct placement for maximum efficiency: Strategic spacing ensures even ventilation across large facilities.
  • Guaranteed workmanship: A professional fitting means a well-protected roof, no leaks and a generous service warranty.
  • Safe and compliant installation: Licensed installers follow safety protocols and comply with local building guidelines.
  • Long-term performance: Properly installed whirly birds last longer and require less maintenance. 

Any Drawbacks? 

  • Higher upfront cost compared to DIY.
  • Scheduled availability, as you rely on the installer’s booking slots.

But trust me, the extra cost is justified because it guarantees reliability, safety, and performance.

So, Which Option Works Best for You?

It’s a pretty simple calculation!

For large, frequently occupied industrial buildings, the professional option usually wins as the safer and more effective choice. Better airflow, better durability, and zero stress about the installation process!

DIY may suit small workshops or storage units, but for complex roof structures, professional installation provides peace of mind and better long-term value.

Bottom Line: Not Sure Which Roofing Company to Choose?

Don’t you worry! Rely on The Sydney Roof Doctor! We offer trusted expertise and reliable roofing solutions for commercial and industrial sites. With an in-depth understanding of roofing materials, ventilation needs, and compliance standards, we can install whirly birds in a way that safeguards your roof and keeps your indoor cooler at the same time.

FAQ:

Do whirly birds still work on days with no wind?

Yes. Rising warm air inside the building helps create natural airflow, even on calm days.

Do they need maintenance?

They are low-maintenance, but occasional checks help keep them spinning smoothly.

Are whirly birds noisy?

No, not when installed correctly. Noise usually means it needs quick service.