Have you noticed mould on your ceiling or walls during winter, even though your roof doesn’t seem to be leaking?
You’re not alone.
Many Sydney homeowners think they have a roof leak when they first see damp patches or water stains. But in many cases, the real problem isn’t a damaged roof, it’s poor roof ventilation.
During winter, warm air inside your home rises into the roof space. When that warm air touches the cold roof, it turns into water droplets. Over time, that moisture can lead to mould, damp insulation, timber damage, and musty smells.
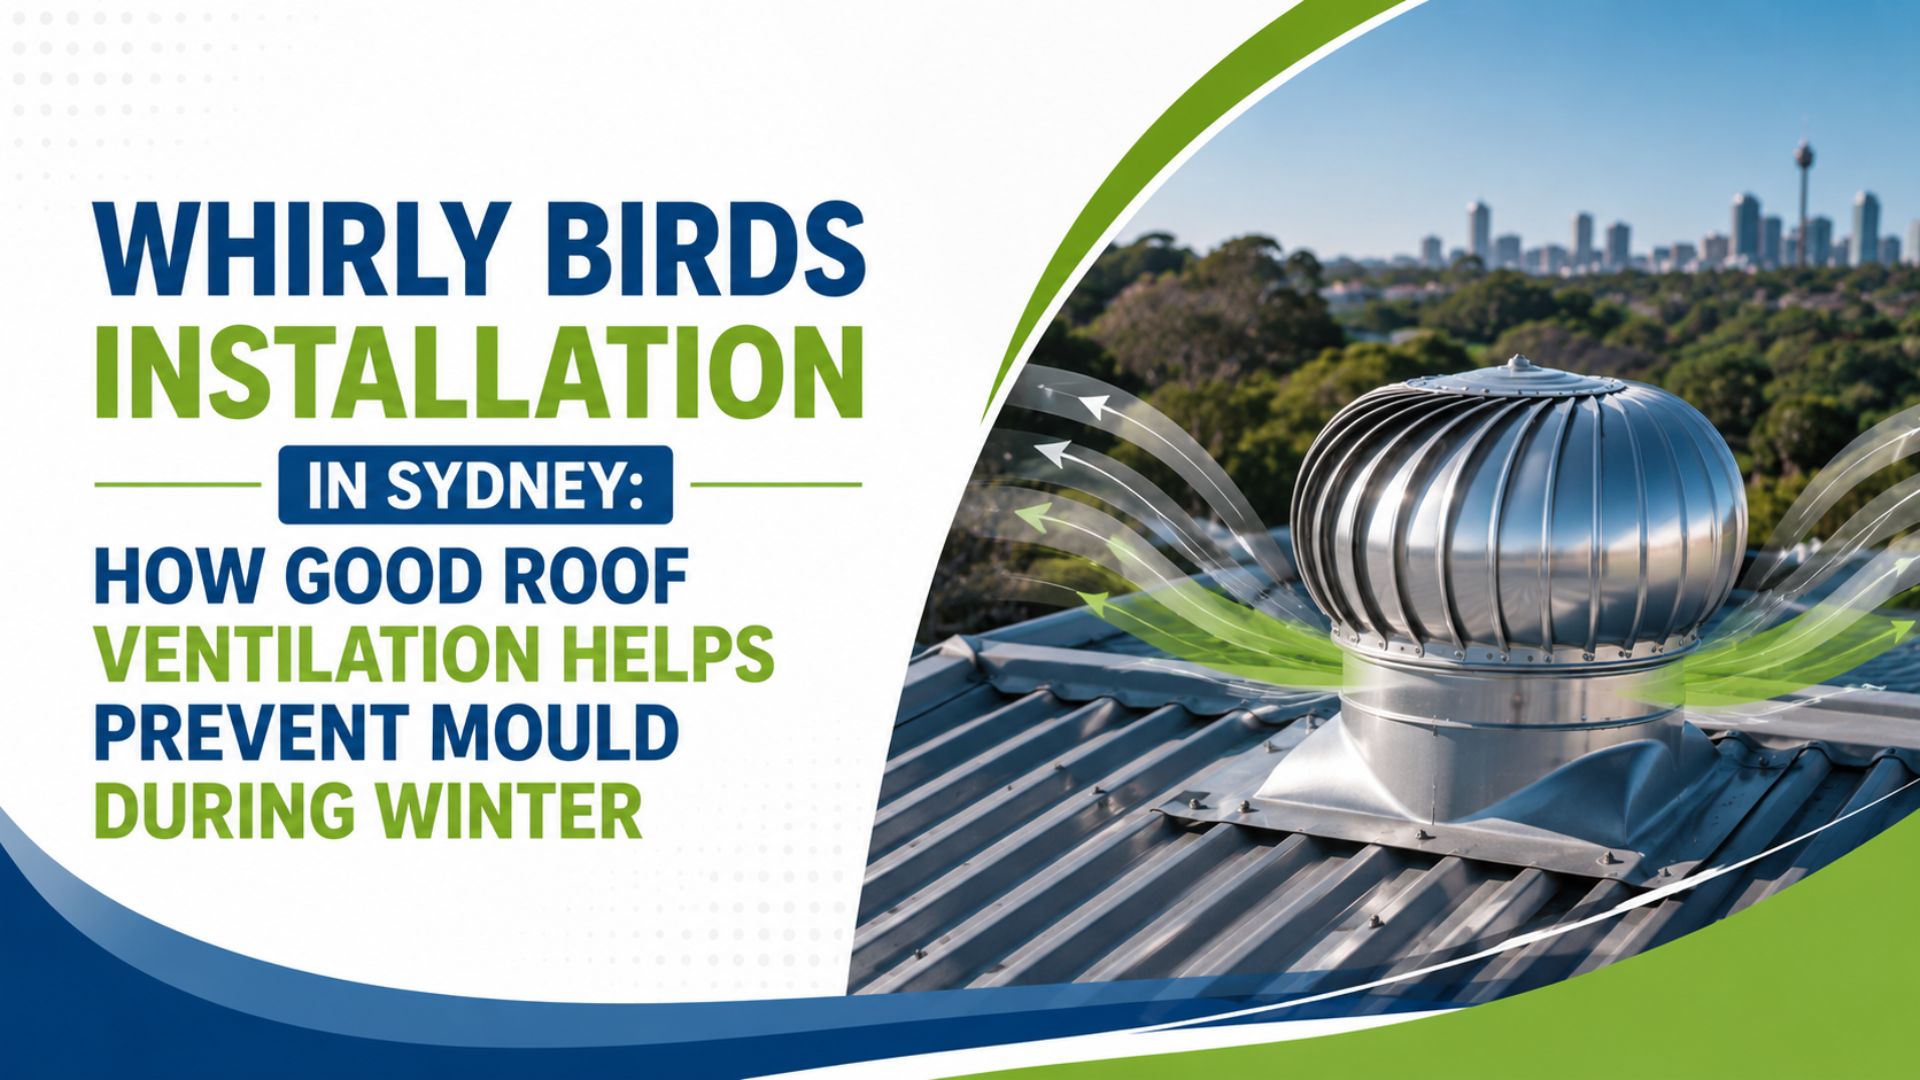
This is where Whirly Birds Installation can help.
When Whirly Birds Installed properly, they remove warm, damp air from your roof space before it causes problems. They also help improve airflow, protect your roof, and create a healthier home.
In this guide, The Sydney Roof Doctor explains how Whirly Birds Fitted can help prevent mould, improve roof ventilation, and protect your home during Sydney winters.
Why Mould Happens in Sydney Homes During Winter
Sydney winters are not freezing, but they can still cause condensation inside your roof.
Every day, your home creates moisture from things like:
- Hot showers
- Cooking
- Drying clothes indoors
- Indoor plants
- Even breathing
That warm, moist air rises into the roof cavity.
At night, the roof becomes colder. When the warm air touches the cold roof sheets or tiles, it turns into water.
Many homeowners think this means their roof is leaking.
But that’s not always true.
Sometimes it’s simply condensation caused by poor roof ventilation, not a damaged roof.
This is often called a “ghost leak” because it looks like a roof leak when it isn’t.
Modern homes are built to keep heat inside, but that also means they trap more moisture. Without good ventilation, that moisture has nowhere to go.
How Whirly Birds Installation Works
Many people think a whirlybird only works when it’s windy.
That’s not completely true.
A whirlybird works in two ways.
Wind Helps It Spin
Even a light breeze turns the spinning top of the whirlybird.
As it spins, it pulls warm air out of the roof space.
Warm Air Naturally Rises
Warm air always moves upward.
As warm, damp air collects inside your roof cavity, the whirlybird lets it escape.
Fresh air then comes into the roof through vents near the eaves or soffits.
This creates a natural flow of air that helps keep the roof space dry.
For this system to work properly, your roof needs both fresh air coming in and warm air going out. Installing a whirlybird without enough intake airflow won’t give the best results.
Why Roof Ventilation Is Important During Winter
Most people think Whirly Birds are only useful in summer.
But they are just as important during winter.
Good roof ventilation helps remove moisture before it causes damage.
It can help reduce:
- Roof cavity moisture
- Condensation
- Mould growth
- Damp insulation
- Musty smells
- Timber damage
- Poor indoor air quality
Dry insulation also works much better than wet insulation.
If insulation becomes damp, it cannot keep your home warm as well, which can increase your heating costs.
Signs Your Roof Ventilation May Not Be Working Properly
Many homeowners don’t notice ventilation problems until damage starts to appear.
Look out for these signs:
- Water drops inside the roof space
- Mould on ceilings during winter
- Peeling paint
- Damp insulation
- Musty smells inside the house
- Rust under a metal roof
- Water marks on roof timbers
- Higher energy bills
- Roof space stays hot or damp
If you notice several of these problems, poor ventilation could be the cause.
If you’re unsure whether you have condensation or an actual roof leak, read our guide:
Roof Leak Repairs Sydney: Why Your Roof Looks Fine But Is Secretly Failing This Winter
What Happens During Professional Whirly Birds Installation?
Many homeowners ask what actually happens when a whirlybird is installed.
Here’s what you can expect.
Step 1 – Roof Inspection
First, the roofer checks:
- Your roof condition
- Existing ventilation
- Roof pitch
- Roof material
- Moisture levels
- The best place to install the whirlybird
Step 2 – Ventilation Check
The installer works out:
- The size of your roof space
- How much airflow is needed
- How many whirlybirds your roof needs
- Whether there is enough fresh air coming into the roof
Step 3 – Roof Opening
A hole is carefully cut in the roof.
The correct flashing is installed to keep the roof waterproof and prevent leaks.
Step 4 – Installing the Whirlybird
The whirlybird is securely fitted to the roof.
Everything is sealed properly to suit your roof type.
Step 5 – Final Check
Before finishing, the installer checks:
- The whirlybird spins freely
- Flashing is installed correctly
- All seals are waterproof
- Airflow is working properly
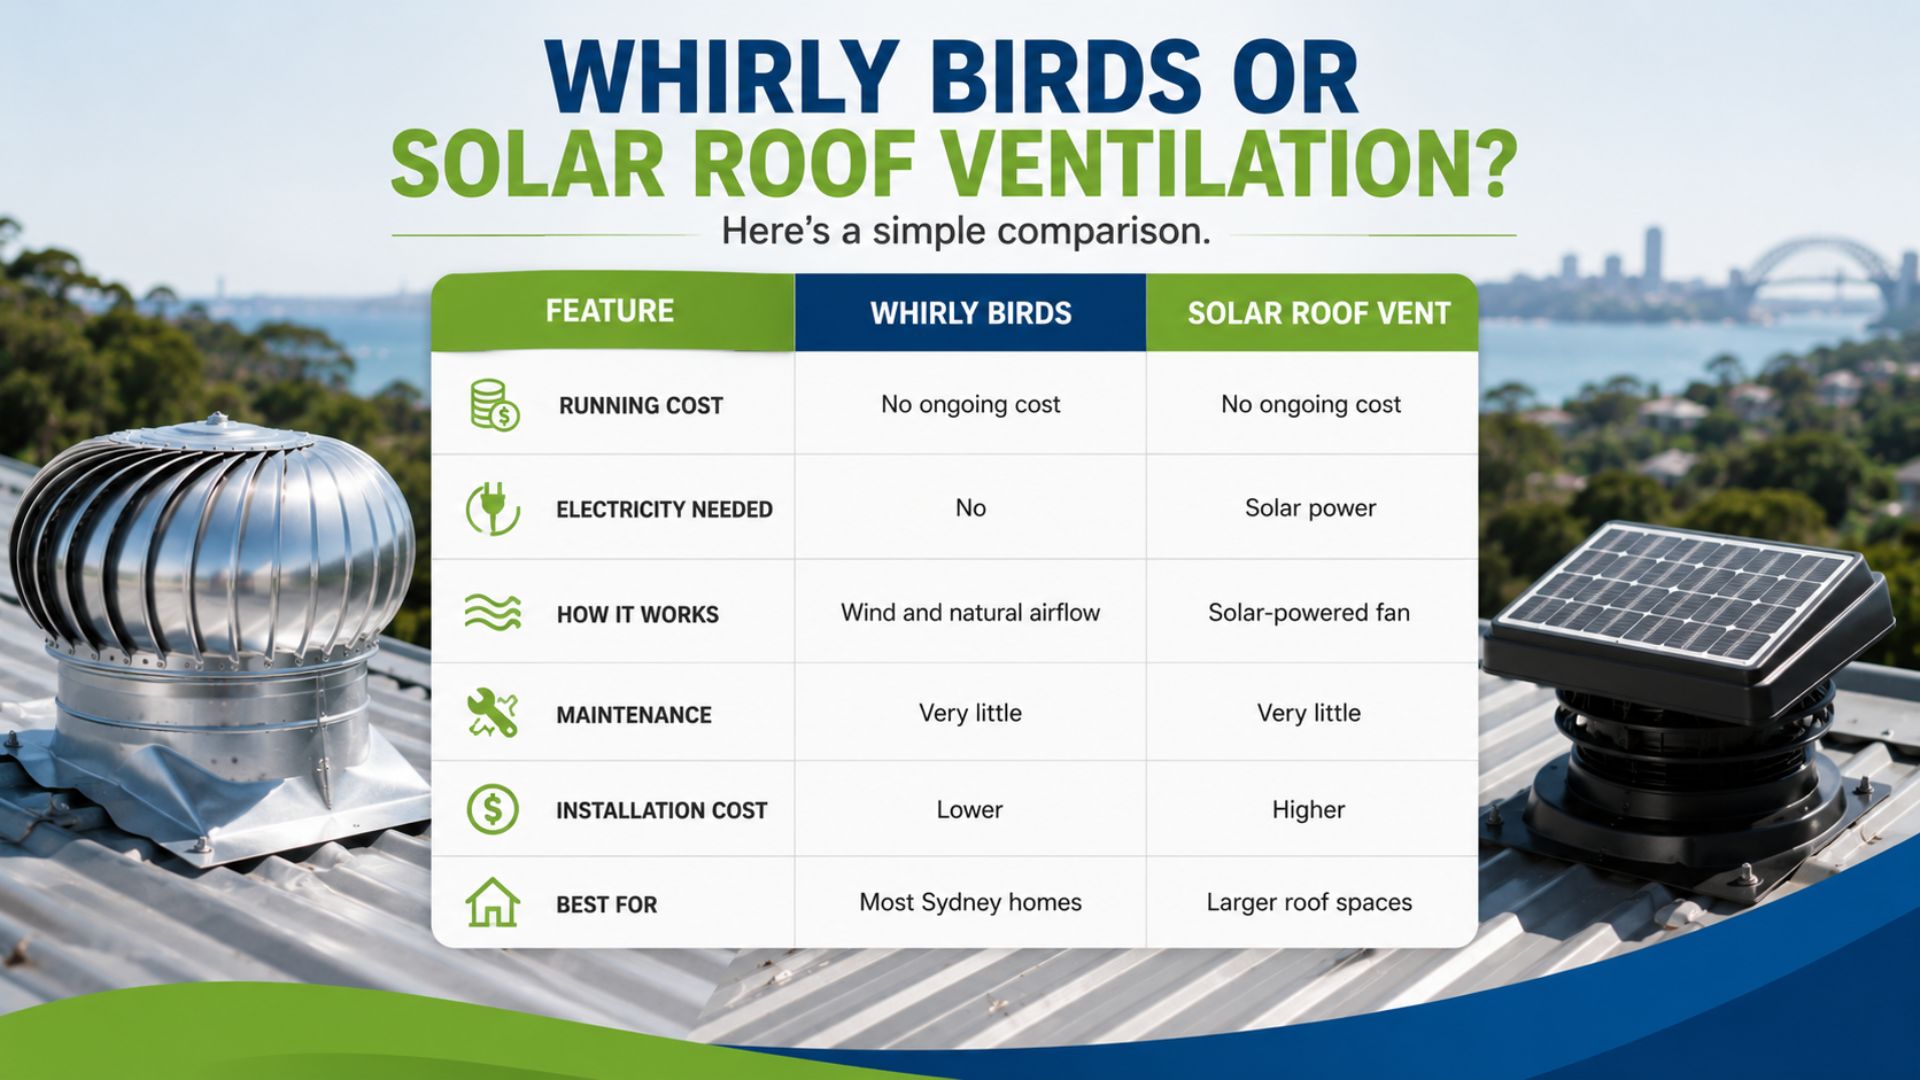
Whirly Birds or Solar Roof Ventilation?
Many homeowners wonder which option is better.
Here’s a simple comparison.
| Feature | Whirly Birds | Solar Roof Vent |
| Running Cost | No ongoing cost | No ongoing cost |
| Electricity Needed | No | Solar power |
| How It Works | Wind and natural airflow | Solar-powered fan |
| Maintenance | Very little | Very little |
| Installation Cost | Lower | Higher |
| Best For | Most Sydney homes | Larger roof spaces |
For most homes in Sydney, Whirly Birds Installed correctly provide excellent ventilation without the higher cost of solar-powered systems.
How Many Whirly Birds Does Your Home Need?
There isn’t one answer that suits every home.
It depends on:
- Roof size
- Roof shape
- Roof pitch
- Ceiling height
- Existing ventilation
- Insulation
- Local weather
Installing too few may not remove enough warm air.
Installing too many without enough fresh air coming in may also reduce performance.
That’s why it’s always better to have your roof assessed by an experienced roofer.
Whirly Birds Installation Cost in Sydney
One of the first questions homeowners ask is:
How much does it cost?
Every roof is different, but these are common price ranges.
| Installation | Typical Price Range |
| One Whirlybird Installed | $350–$500 |
| Two Whirlybirds | $550–$700 |
| Three Whirlybirds | $750–$950 |
| Four Whirlybirds | $950–$1,200 |
The final price depends on your roof type, roof access, and how many units are needed.
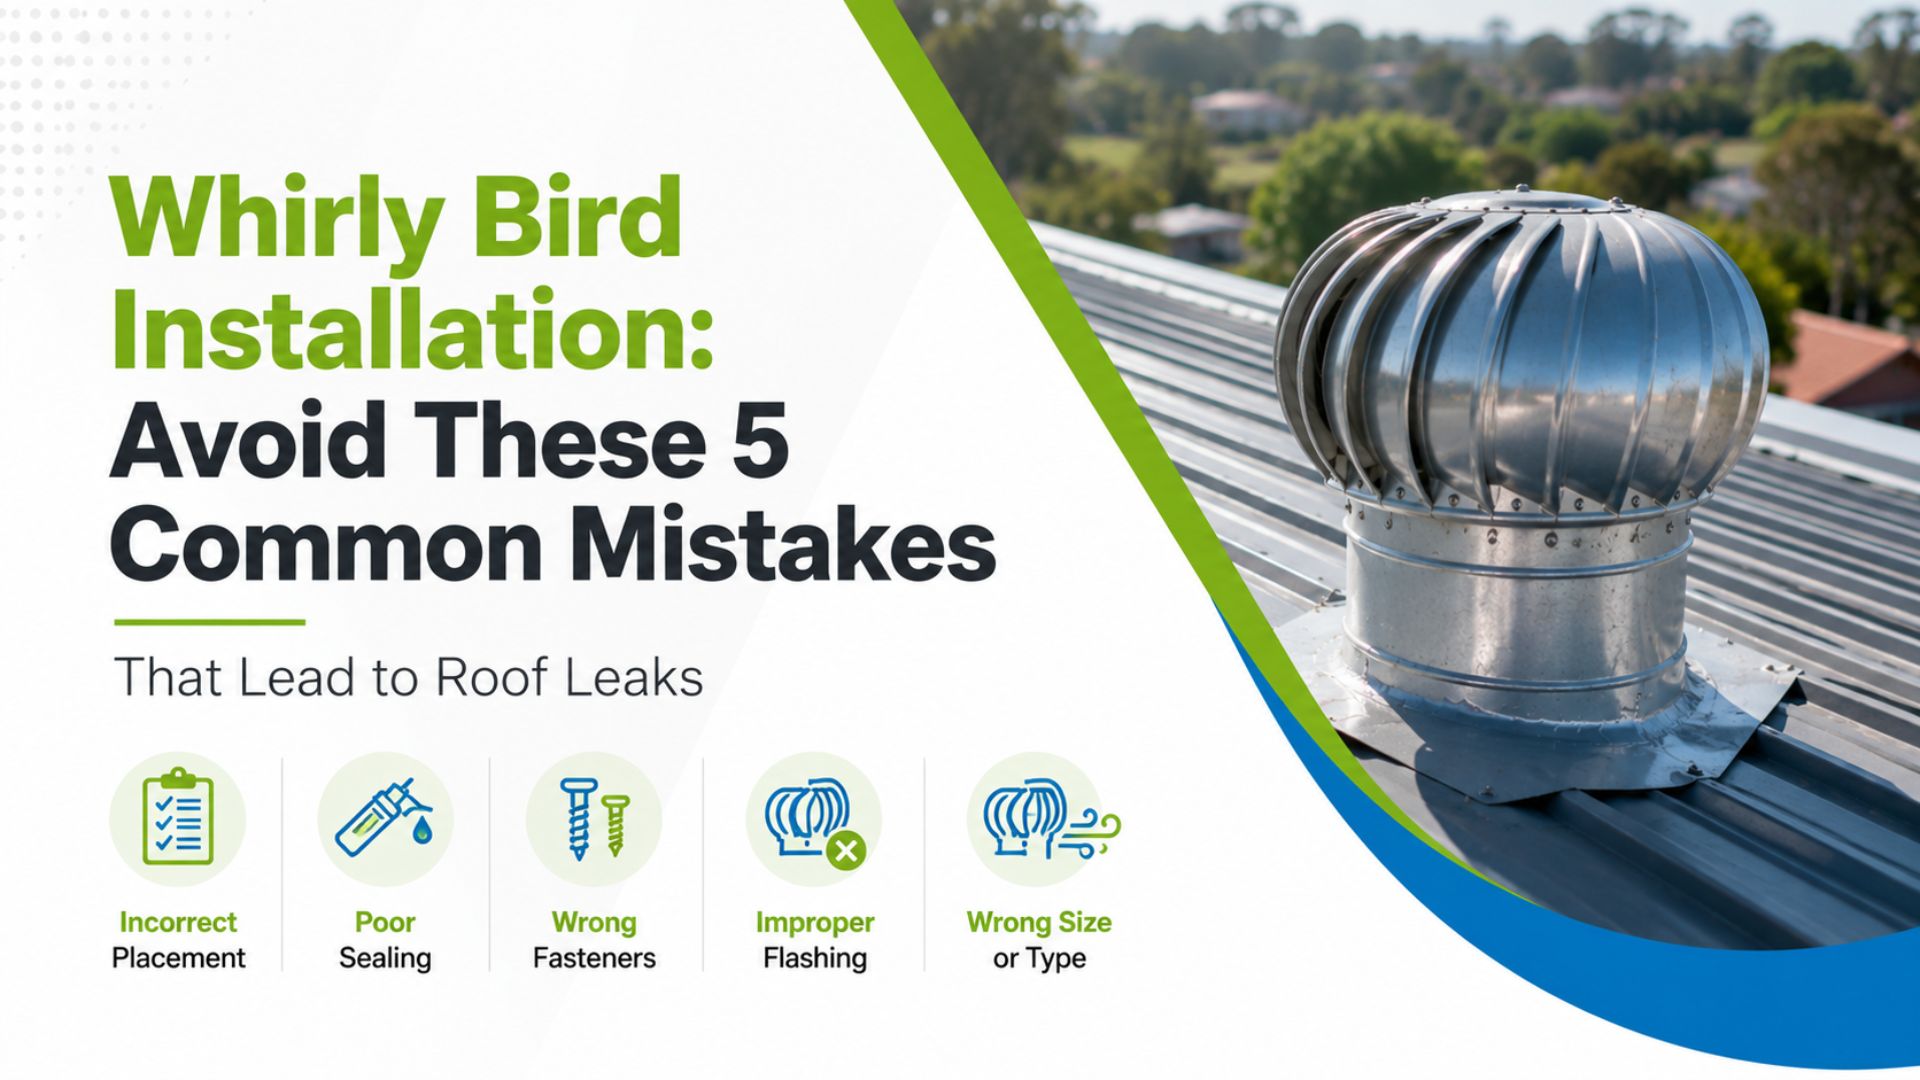
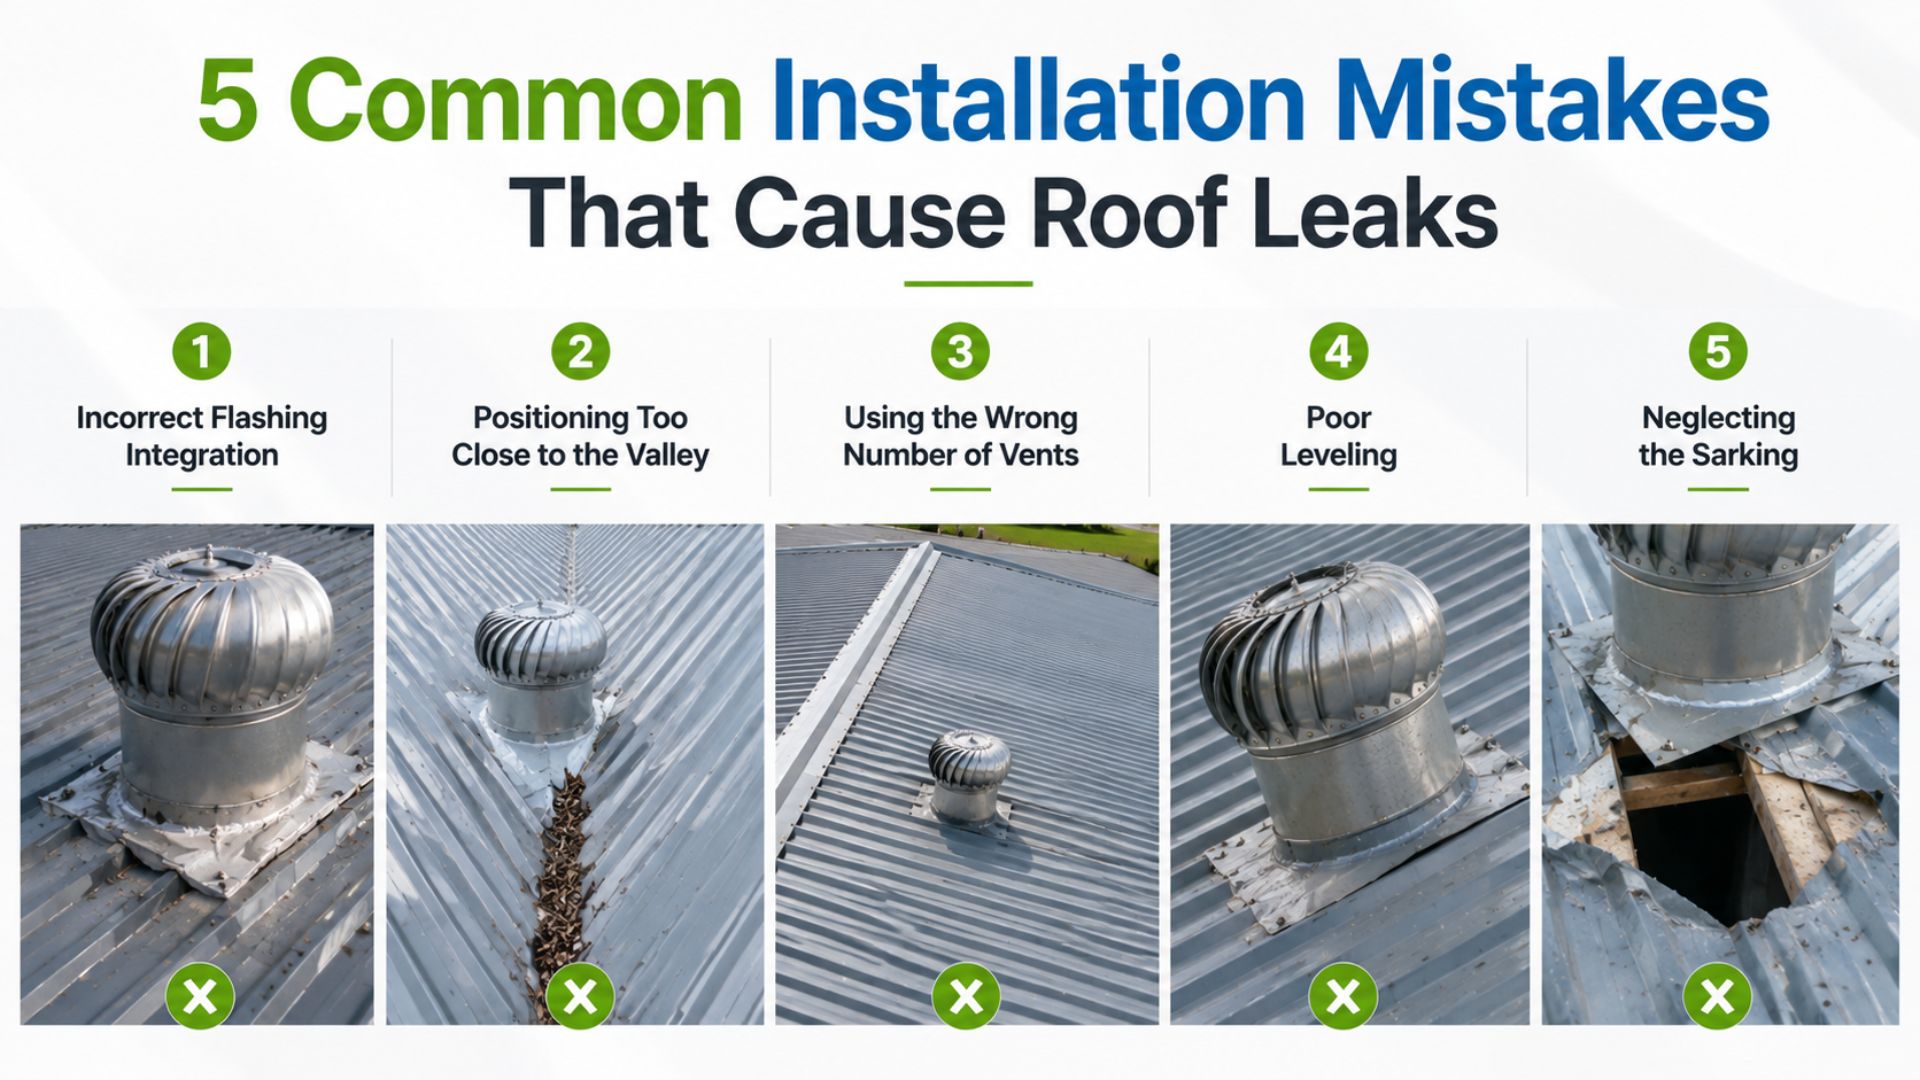
Common Whirly Birds Installation Mistakes
Poor installation can lead to roof leaks and poor ventilation.
Some common mistakes include:
- Incorrect flashing
- Poor sealing
- Installing in the wrong location
- Using low-quality products
- Not allowing enough fresh air into the roof
- Poor spacing between vents
- DIY roof work
If you’re planning to install a whirlybird, read our guide:
Whirly Bird Installation: Avoid These 5 Common Mistakes That Lead to Roof Leaks
Professional Installation or DIY?
Installing a whirlybird may look simple, but it takes experience.
The job includes:
- Working safely on the roof
- Cutting the roof correctly
- Installing flashing
- Waterproof sealing
- Understanding roof ventilation
A DIY job may save money at first, but mistakes can lead to roof leaks, poor ventilation, and expensive repairs later.
Professional installation gives you peace of mind that everything has been done properly.
Why It’s Better to Fix Ventilation Problems Early
The moisture inside your roof won’t disappear on its own.
If left untreated, it can lead to:
- Timber damage
- Ceiling repairs
- Wet insulation
- Mould growth
- Higher energy bills
- Poor indoor air quality
- Bigger roof repair costs later
Fixing ventilation early is usually much cheaper than repairing the damage caused by years of trapped moisture.
Helpful Guides from The Sydney Roof Doctor
You might also find these guides useful:
- Whirly Bird Installation Guide for Australian Homes: A Practical Walkthrough
- Roof Leak Repair Checklist for Sydney Suburbs
- Emergency Roof Leak Repairs: What Sydney Homeowners Need to Know
- The Hidden Cost of Neglect: Why Sydney Gutter Cleaning Is Your Roof’s Best Defence
Conclusion
If you’re unsure whether you need Whirly Birds Installation or professional Roof Repairs Sydney, a roof inspection can help identify the real cause before small problems become costly repairs.
It also removes moisture during winter, helping prevent mould, protect insulation, improve indoor air quality, and extend the life of your roof.
If you’ve noticed damp ceilings, mould, or moisture in your roof space, don’t assume you have a roof leak.
A simple ventilation check could save you from much bigger repair costs in the future.
At The Sydney Roof Doctor, we help homeowners understand what’s really happening with their roofs, so they can make the right decision before small problems become expensive ones.